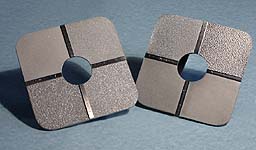
In cases where surface roughness needs to be measured with great precision, elaborate instruments must be used. These are expensive, and often unsuitable for workshop use, where roughness of machined surfaces can usually be assessed conveniently and with sufficient reliability using visual and tactile (fingernail) comparison with a standard set of surfaces machined in the same way.
Our range of Roughness Comparison Specimens can help in such cases. They are simple to use, inexpensive, and hence widely used in many different applications. The golden rule to follow, is to use comparison specimens which have been machined by the same process as the workpiece being checked.
Roughness Comparison Specimens
No. 130: Composite Set of Roughness Specimens |
||
| Our most popular set. This set consists of 30 comparison specimens, covering six of the most commonly- |
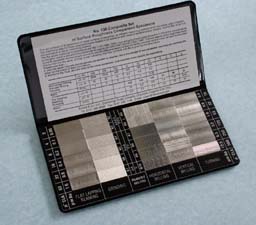 |
Composite set type 130 |
| The label states the Ra values of each specimen in both metric and imperial units. (Rz- |
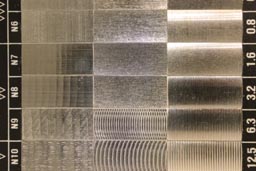 |
Type 130 detail |
100-Series Comparators |
||
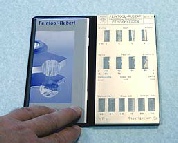
| The 100-series comparators are sets of roughness specimens in slightly heavier-duty presentation than the Microsurf comparators, and are more suited to workshop use. The 100-series comparators cover the same range of machining processes as the Microsurf series. | 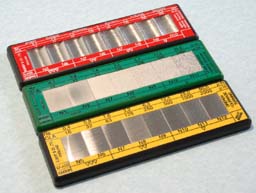 |
|
| Details of our 100 series range. | 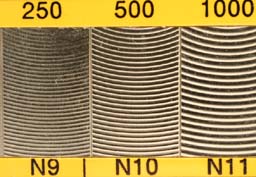 |
Type 119 detail |
Microsurf range (300-series) of comparators |
||
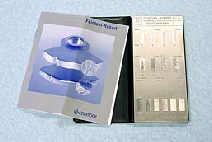
| This is a range of light- Each set in the range is presented in a plastic wallet, with an instruction card giving full details on the roughness values of the specimens. Details of our Microsurf range. |
 |
|
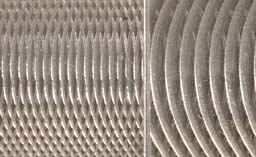
|
Type 321 detail |
Special comparators for particular applications
Typical Applications of our comparison specimens:
- checking roughness of turned, milled, ground, reamed, polished or lapped parts during machining
- checking the roughness of spark-
eroded surfaces as described in the VDI 3400 Guideline - checking the roughness of steel surfaces which have been prepared for painting by blast-
cleaning, as outlined in ISO 8503 - estimating surface roughness prior to accurate measurement by a stylus instrument, as recommended in BS EN ISO 4288,
- checking the seriousness of damage to parts caused by nicks, dents and scratches
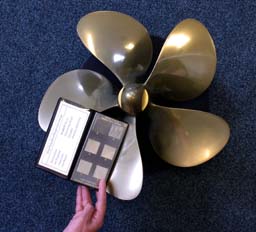
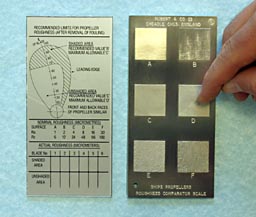
- checking reconditioned ship propeller blades


